Placed in: Home arrow Art arrow Create a fish eye lens effect in Photoshop comprar viagra en espaƱa
comprar viagra online
comprar viagra generico barato
comprar cialis generico online
comprar cialis online seguro
Create a fish eye lens effect in Photoshop

Everybody likes the crazy fish eye lens effect. But why spend so mush money on such a lens, if you create the effect in Photoshop? Here I'll explain how to create the fish eye lens effect in Photoshop.
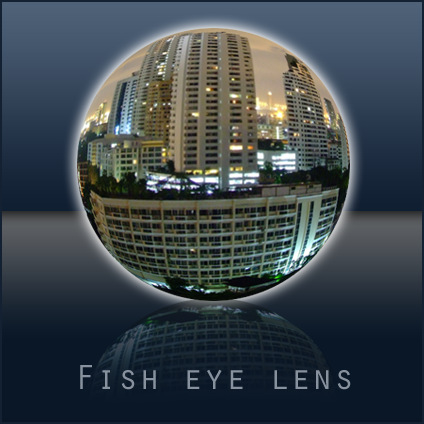
Fish Eye Lens
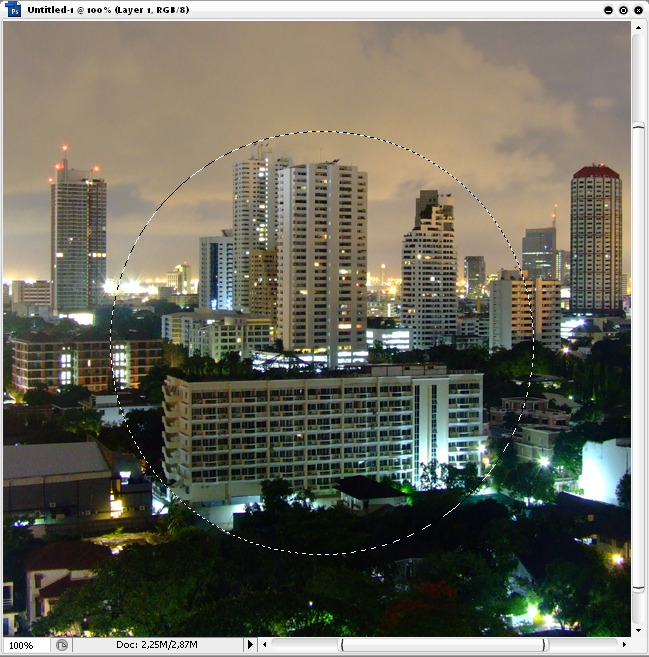
  1. First, make your selection of your fish eye view with the Elleptical Marquee Tool (M). Hold down the "Shift" key while selecting, so that you'll keep the circle perfectly round. The selection is the most important part to get a good Fish-eye effect. Most of the distortion will be at the edges and lots of emphasis on the center, so anchor the middle with something interesting.
    Fish eye view 1
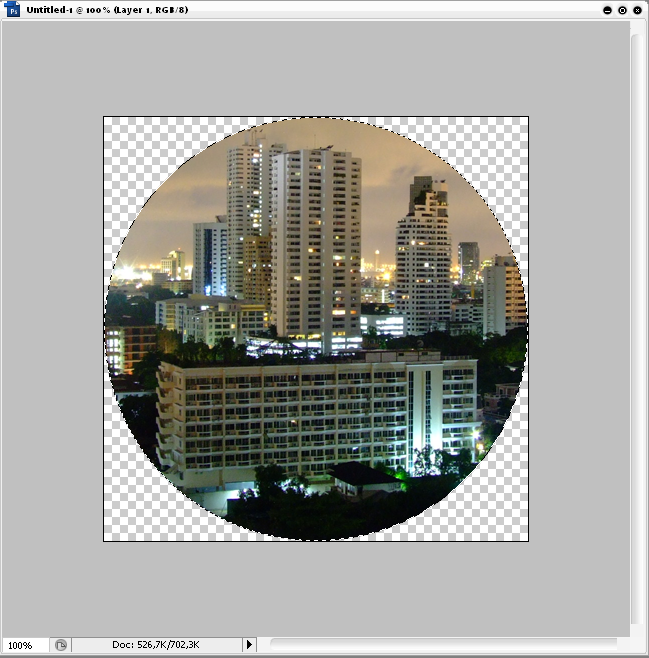
  2. Inverse your selection by going to Select > Inverse (Shift+Ctrl+I). Now press "Delete". Now you've narrowed down your image to your Fish-eye lens. Reverse your selection (Shift+Ctrl+I) to get your selection back to the Fish-eye lens.
    Fish eye view 2
  3. While still selected, Crop the image by going to Image > Crop. With this done, you should only have your Fish-eye lens as your image.
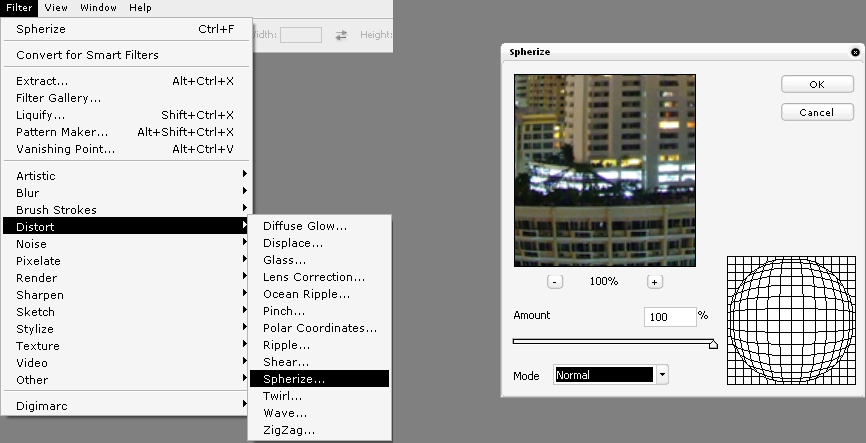
  4. The Fish-eye view is one of the standard filters in Photoshop. With your selection still on, go to Filter > Distort > Spherize. This will bring out a pop-up window with the spherize settings. Set the amount to 100% and the Mode to Normal. Now press "OK" and let Photoshop do his thing.
    Fish eye view 3
  5. There you have it, your own created Fish-eyed view picture. Add a background color and show it to your friends. Enjoy.
    Fish eye view 4

Tags:  how to fish eye photoshop tutorial

Interested in this topic? You might enjoy another article I've written called

Did you like this article? Subscribe to my feed or email to keep updated on new articles.

Spread the word and submit to:
Digg!Reddit!Del.icio.us!Facebook!StumbleUpon!
 
< Prev