comprar viagra online
comprar viagra generico barato
comprar cialis generico online
comprar cialis online seguro
| Create a peeling corner on your website |
|
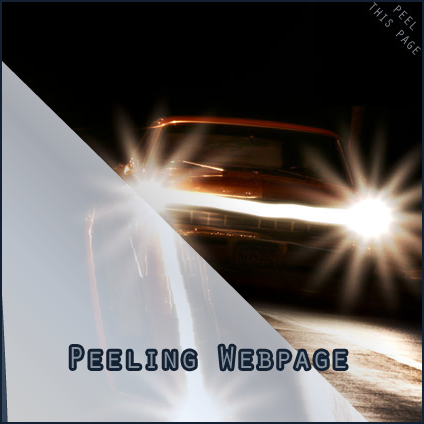
Peeling a webpage is very fun to do and it'll draw attention from your users. You can use to it place advertations, or draw attention to a hot article on your own website. Here I'll explain how to create such an effect on your website. It uses Flash and JavaScript, and is really easy to install. A live demo for the peeling effect can seen when you fully read this article.  I received this package from the admin of musicincontrol.nl, a great dutch music website. If you read this, you should be able to see the peeling live and working in the top-right corner of this page. When you mouse-over the image, it'll expand revealing more information. To achieve this, simply execute the following steps to embed a peeling corner on your website. The JavaScript Select the code above and save it as peel.js (Download Now edit the file with your favorite programming editor (Notepad will work too). Search for the following code line: jaaspeel.ad_url = escape('http://www.marcofolio.net/'); Change the value between the quotes (in this example it is "http://www.marcofolio.net/") to the webpage you want your corner to re-direct too, when people click on it. Save your peel.js file. The images As you can see in the JavaScript code, this effect uses two images.
In this example, I'm using this small.jpg and this large.jpg. Create your own images that will be shown in the peel. The Flash This project uses Flash to create the actual effect. To download the Flash files, look below and download the attached source files. Upload files Now you're all set to upload the files to your web server. Upload the following files:
to the following directory: http://YOURDOMAIN.COM/peel/
Installing on your site Now add the following line to your webpage. Make sure your source (src) direction is correct. <script src="peel/peel.js" type="text/javascript"></script> Well, that's about it. Refresh your page and you should have a nice peeling corner that you can update by just changing the images "small.jpg" and "large.jpg". If it doesn't work, you probably didn't set the paths correct. Please check and make sure it's the right path. Additionally, you can change all the parameters in peel.jpg, beginning with "jaaspeel." (Readme file included). I'm not the one who created the code and I don't know who did. Please contact me if you know / are the programmer of this code. Attached files:Troubleshoot Due to some of the comments, I created a package that should work when you upload it. You can view how it should look like in the example/demo page. Attached files:Download Peel Troubleshoot Package Flash Source I'm not going to modify the code anymore. If you want to have a go, download the Flash source files and play around. Attached files:Download Peel Flash Source Files Where are you going to use the peeling package for? UPDATE: No target="_blank" peel As many have requested in the comments, they want to change the FLA to make the target="_blank" dissapear. As I said before, I can't do this, since the FLA was not mine. Erwin found a solution for this problem: WebPicasso has a free peel away ad in the form of a WordPress plugin. With some modifications you can make it work "stand-alone" and that one doesn't have the target="_blank" addition. Enjoy! UPDATE 29/3/2009 One of our readers (Rusty - Thanks!) dove in the "large.fla" file to try to fix the error. You can download the clear FLA version here. These were the changes made by Rusty:
Please contact me (use the contact page) if you managed to fully fix the file and make the target=_blank work. Update If you're using more Flash files on the page, you might encounter a problem with the peel showing under your Flash files. Steven kindly provided the following fix. Simply leave the peel banner "as is" and edit the code around the other Flash files you're using in the following:
<embed src="yourflashbanner.swf" quality="high" pluginspage="http://www.macromedia.com/go/getflashplayer" type="application/x-shockwave-flash" width="263" height="170" bgcolor="#ccccff" wmode="transparent"></embed> Change Update For those people that want a page peel banner opened in the same page instead of another, Romesh shared a script where you can achieve this effect. You can download the script here. Simply modify // Browser target new (new) or self (self) var openLink = 'self'; Thanks a lot Romesh! Tags: how to peel website webdesign Interested in this topic? You might enjoy another article I've written called |
| < Prev | Next > |
|---|
| Search |
|---|
| Or try the sitemap |


