 Art
Art  Create a frog logo in Photoshop comprar viagra en españa
comprar viagra online
comprar viagra generico barato
comprar cialis generico online
comprar cialis online seguro
| Create a frog logo in Photoshop |
|
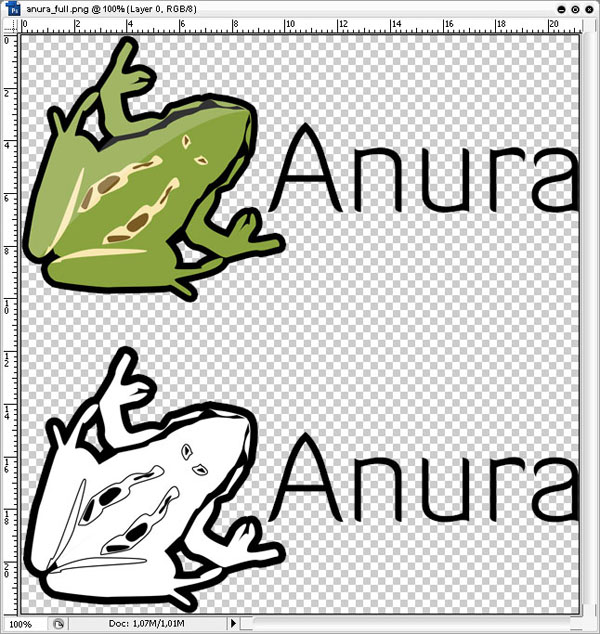
For a school project, our project team was in need of a logo. I created a simple frog logo, because it has something to do with the project we'll be working on (sorry, can't give you any more details). I'll explain here how I created it. You can also see this logo as an icon that can be used in documents.  In this tutorial I'll try to teach you the basics of the 'Pen Tool', since many people will find it hard to use it for the first time. Of course you can use this technique with other animals to create logos or icons. To create a nice logo (or icon), most of the times you want to create it as a vector image. Adobe Illustrator is always good, but the Pen Tool from Photoshop allows you to create vectorized shapes too. So get your Pen Tool and let's start. Create a frog logo in Photoshop First, I got an actual picture of a frog from stock.xchng. I'll use the Green Frog from arinas74 as a good reference to ensure the anatomy of the frog will be correct. 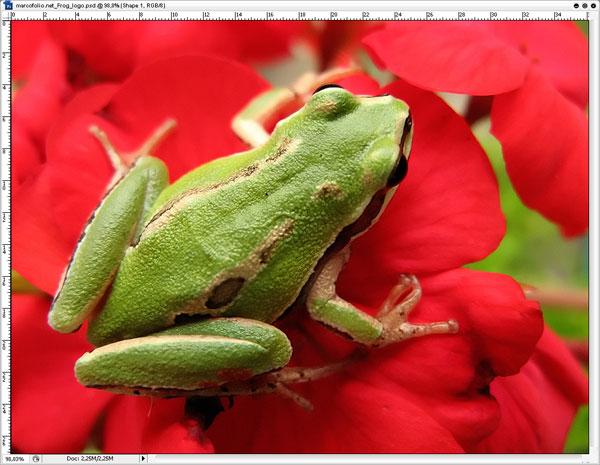 Create a new layer & set the start of your Pen Tool (P) at the tip of the nose. Now click next to the eye to create a new anchor point. With the mouse-button still held down, drag your mouse around untill the shape has covered the section. You can always change your anchor points later, but the wisest thing to do is try to do it correct in the first time. Mastering the Pen Tool can be pretty hard the first time, but just play around and you'll get to do it eventually. The color of the shape doesn't matter at this point, but I prefer to make it black with an opacity of 30%. This way, you'll get a clear view at what you're doing with the shape. 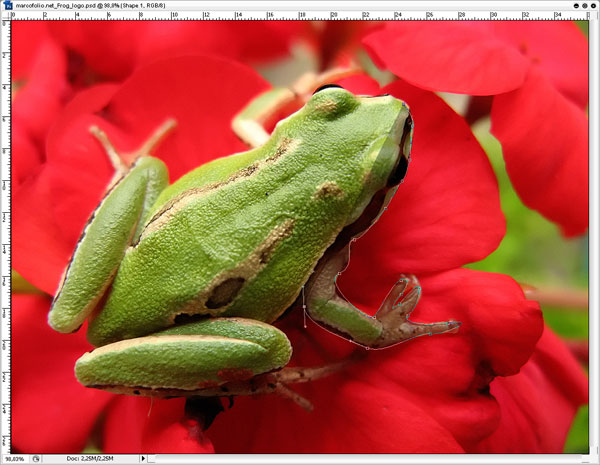 Repeat this step untill you're halfway of the body. It's enough to stop there. A logo will be appreciated much more when it has symmetry applied. We can mirror this shape later in this tutorial. For now, this is my base shape I'll be working with. 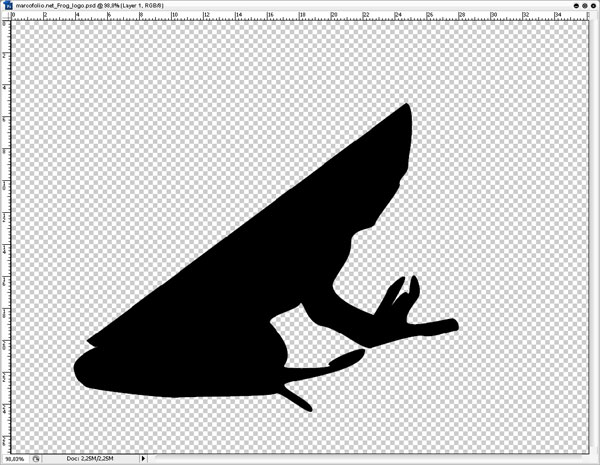 With loads of peaking (switching on/off the background image), I used the Pen Tool to get the "light spots" of the frog (The white/yellow colors). I also made a vector shape out of the band following the eye of the frog. In this step, you can add as much detail as you'd like. But don't forget: This is a logo. Too much detail is not good for an easy, eye-catching logo. All layers have an opacity of 30% in this stage and all are black. 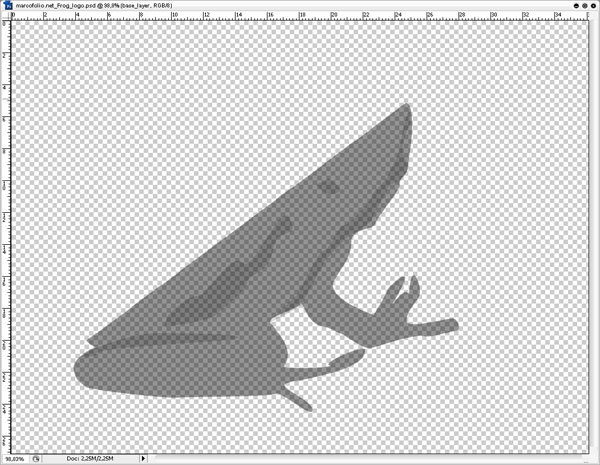 Now set all layer opacities back to 100% and let's give it some color. I used the Eyedropper Tool (I) to grab the colors of the original photo of the frog. As you can see, I also added a couple of "dark spots" on top of the "light area's", just like on the real picture. 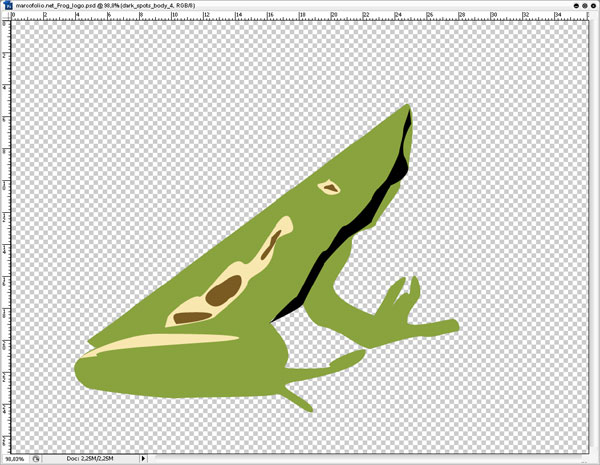 Select all vector shapes by holding the CTRL (or CMD) key in the Layer Palette and clicking on the shape layers. Copy all layers, by dragging them to the "Create a new layer" icon at the right-down corner of the Layer Palette. Now press CTRL (or CMD) + E to Merge the layers. This will force your vector-layers to be rasterized, making them non-vector. With the newly created layer selected, go to Edit > Transform > Flip Horizontal. Now use Free Transform (CTRL or CMD + T) to rotate the mirror side around. Use the Move Tool (V) to drag the mirror side to his correct position. 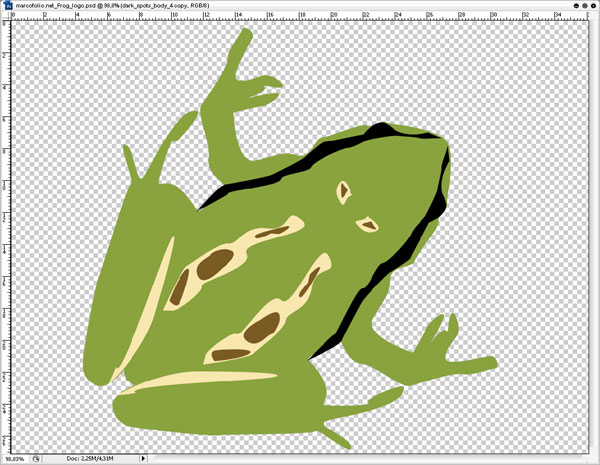 Now select all layers (Vector shapes + mirror side) and merge them together. I gave the frog a fat border to make it look extra cool. I did this, by changing the Blending Options of the layer, giving the frog a black stroke with a size of 20 px. I also gave it a little glossy, just give it some Web 2.0 value. 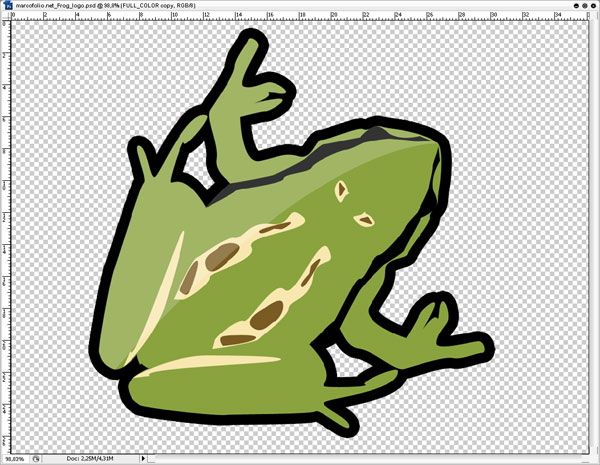 That's it! I added the name of our project group (Anura, the Latin name for frog), made a printer-friendly black & white version and this is my final result. Click on the image to enlarge. There you go. A pretty simple but effective frog logo (or icon) to use. It took me under one hour to create this logo. Hope you learned something and will be using this technique in the future. You can download my PSD file for this frog logo in the download section. Tags: photoshop tutorial pen tool frog logo icon Interested in this topic? You might enjoy another article I've written called |
| < Prev | Next > |
|---|
| Search |
|---|
| Or try the sitemap |
