 Art
Art  Presenting gadgets in a superb, grungy way comprar viagra en españa
comprar viagra online
comprar viagra generico barato
comprar cialis generico online
comprar cialis online seguro
| Presenting gadgets in a superb, grungy way |
|
Time for all those Photoshop lovers out there to follow another tutorial. This time, we'll learn how to present technology gadgets in a superb, grungy way. I was inspired by the artwork from Eric Oosterhof and wanted to created something looking just as amazing as that. 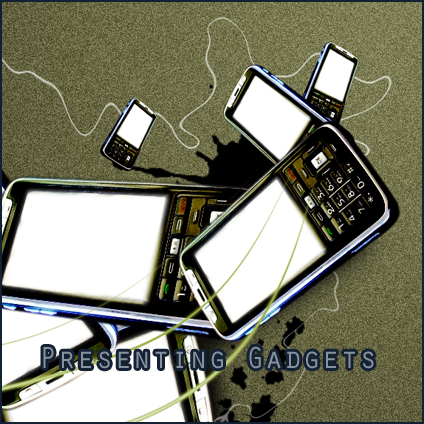 My PSD file was too big to put to download because of the smart objects (26 MB), but you can download a wallpaper pack containing my final result in high resolution in 3 different sizes (320x480 (iPhone), 1440x900 (widescreen), 1600x1200 (normal)). Presenting gadgets in a superb, grungy way Open up Photoshop and create a new document. Grab your Gradient tool (G) to make a Radial Gradient. I created one using a background color of #7f8056 and a foreground color of #24210e. Place it in one of the corners, it'll look like as if the gadgets will be coming from that place.  Add a Noise Filter by going to Filters > Noise > Add Noise. A new window will open. I used an amount of 15%, distribution set to Uniform and monochromatic set to yes. You should have something looking like this. 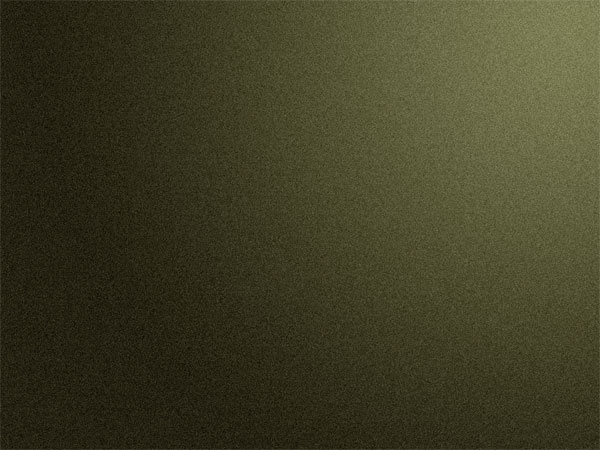 It's time to grab your gadget! I used a picture of a cellphone that I found on stock.xchng. Open your file in Photoshop. Grab your Pen Tool (P) and draw a path around the phone. When done, go to your "Paths Palette" and right-click on your work path. Click on "Make selection..." and create a selection with a feather radius of 5 px. When the selection is made, drag it on your background from the previous step. Right-click on the layer from your phone in the layers palette and select Convert to Smart Object (Only for Photoshop CS2+). This will be useful for later. Resize the phone using Free Transform (Ctrl+T). 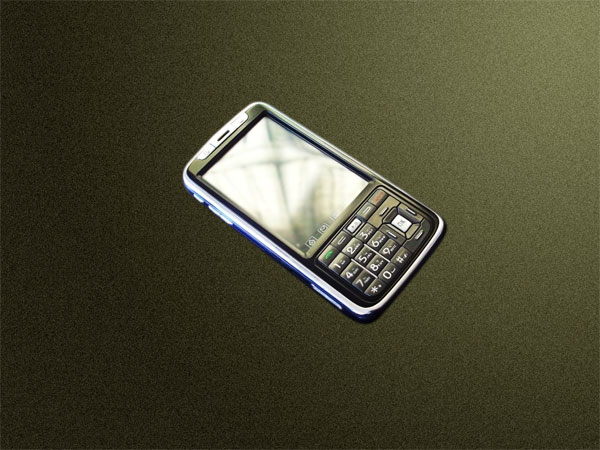 Duplicate the layer of the phone. Set the Blending options of the top layer to Linear Burn in the layers palette to let the colors be more intense. Depending on your gadget, other Blending Options can be used. 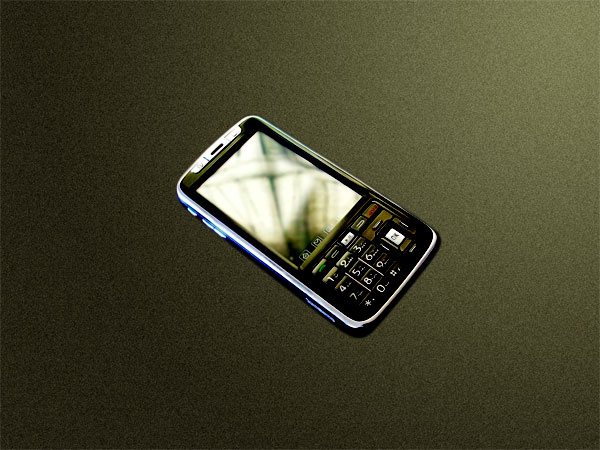 Once again, grab your Pen tool (P) still set to "Paths". Draw a path around the screen of the phone. Now, right-click in the "Paths Palette" on your created path and select Fill Path. In the new window, set the Use to White and use a feather radius of 5 px. Now you should have something looking like a glowing screen. Make sure you transform this layer to a Smart Object too. Now group all your phone layers (Original, One with Linear Burn and the white glow) in to one group. 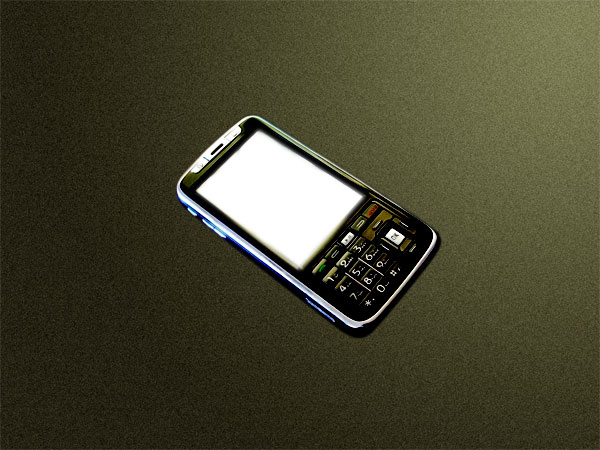 This part is all about your own imagination and creativity. Duplicate the group (folder) to create another phone. Now rotate and resize using Free Transform. You can also flip the image by going to Edit > Transform > Flip horizontal (or vertical). Remember, when flipping your image, your numbers will not be readable anymore (it's like a mirror). Make it look like as if the gadgets are "growing" from one part of the image. Just start small and create new ones that are bigger and bigger. This is the time when the Smart Objects come in handy, since you'll probably resize a lot. Smart Objects make it sure you'll not lose the quality of the images. When done, group all "cellphone groups" in to one group called "group_cellphone". This is my result so far. 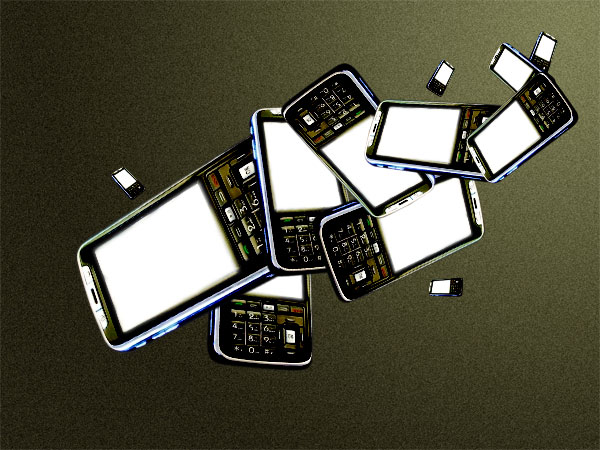 Under the group_cellphone create another layer called "Splatterish". Now grab some high-resolution splatterish brushes for the grungy effect. I downloaded the brushes from Brusheezy that are for Photoshop CS3. If you don't have CS3, you can find other resources at the ultimate photoshop design resources. Save your brush in your 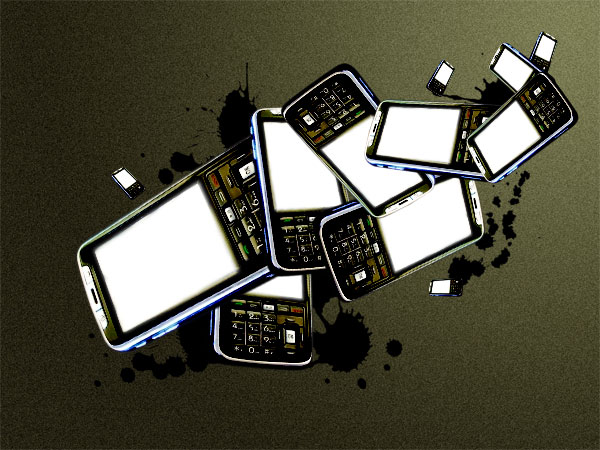 Create a new layer on top of all your other layers. Grab your Pen Tool (P) and create a swirling Path. Grab a basic brush with a diameter of 3 with a hardness of 100%, the color #FFFFFF and flow of 100%. For Photoshop CS3, open up your Brushes palette (F5). Check Shape Dynamics and set Control to Pen Pressure. Right click in your paths palette on your just created work path and select Stroke path... The source is a brush and make sure you check the Simulate Pressure box: It'll give the nice, smooth edges. You can now delete your path. I created two more of these swirls, each one growing in size. The first one has a diameter of 3 px, the second one of 5 px and the last one has a diameter of 7 px. Also add an Outer Glow in blending options with a color of #9aa53d. I also added a Inner Glow, with a color of #769400 with a blend mode to Normal. 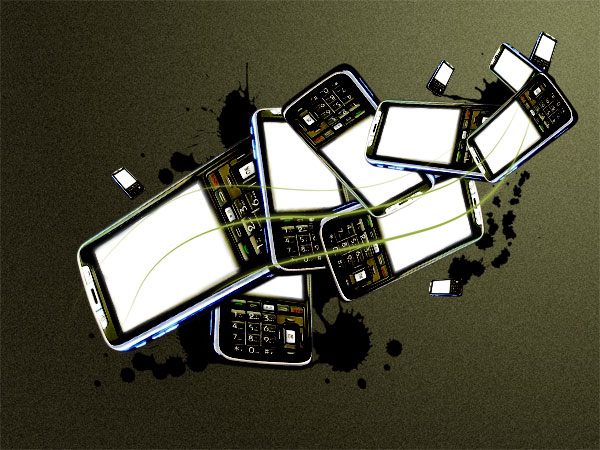 For the "electric waves", draw another path using the Pen Tool above the splatterish layer but under the cellphone group. Let this path be pretty random. Select a hard brush with a diameter of 1 px, having a color of #FFFFFF. In your path palette, right-click on your path and choose Stroke path.... This time, don't simulate pressure. 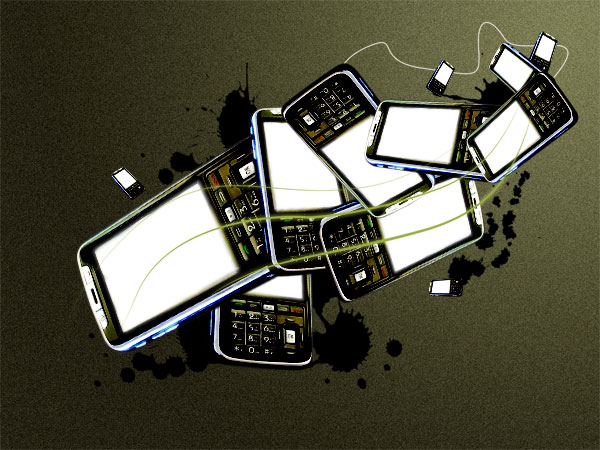 With your electric wave layer selected, add a wave filter by going to Filters > Distort > Wave. In the new window that will open up, press Randomize a couple of times. Press "OK" to save your settings. Change the layer opacity to 80%. Repeat the previous steps (Drawing path & adding filter) and change the opacities for each electro wave. Make sure you don't overdo the effect. 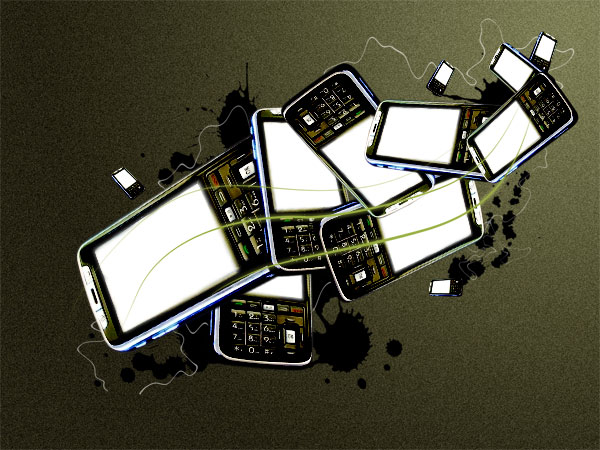 For a finishing touch, grab a huge, soft brush having a color of #4f4f4f. Brush a soft shadow under the phones. Set the layer properties to Linear Burn to make it darker and more intense. I added some words with the color #FFFFFF using the font Sylfaen to finish this project. 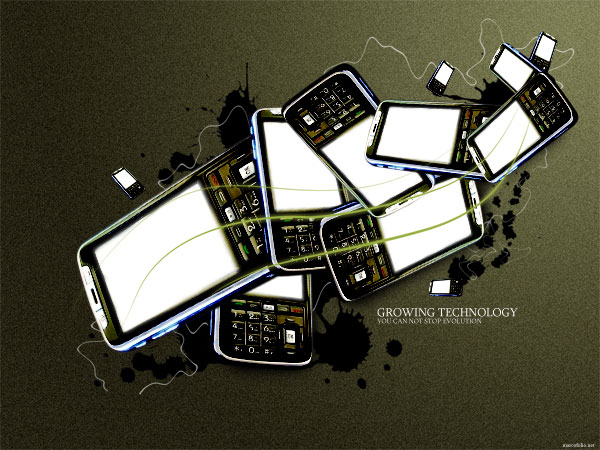 There you go, a pretty impressive way of presenting gadgets in a superb, grungy way. I hope you learned something new & feel free to place your artwork created by following this tutorial in the comments. My PSD file was too big to put to download because of the smart objects (26 MB), but you can download a wallpaper pack containing my final result in high resolution in 3 different sizes (320x480 (iPhone), 1440x900 (widescreen), 1600x1200 (normal)). Tags: gadgets grunge photoshop tutorial Interested in this topic? You might enjoy another article I've written called |
| < Prev | Next > |
|---|
| Search |
|---|
| Or try the sitemap |


